You know that feeling you get, when you discover something new and wonderful, and you just want to jump in and try it out, right this second? Well, I've got that feeling big time.
Before I found lampworking, I dappled a bit in metal jewelry. Just a bit mind you, and it's been ... what, 20 years or so?
It was a bit of sawing, filing and soldering, and then some swirlings of really fat wires. But it never came to much. Then one of the very last things I did before packing it all up was this copper neckpiece.
I made a pattern, cut it out and hammered it up from a flat sheet on my little anvil. I'm still kind of proud of it, all these years later, even though it is not really comfy since you can't move/turn your head freely wearing this. But the shape is nice and it has a lovely texture, and it came out quite well I think, for not knowing what I were doing.
And now I've discovered techniques that makes my heart race. Oh yes!
Anticlastic raising, Rueger folds, star folds, sinusoidal stakes ... my mind is buzzing with wonderful new words and ideas of gloriously organic shapes. Goggle 'fold forming', click for pictures and behold a world of beauty. Please do google it, you really have to see what I am going on about. Or just click here :)
I have to try this, I really do, or I'll simply burst. I have dug out my old tools from the box in the basement. I have my little anvil, I have some copper plate, I have my saw and a bunch of blades. I am sure I can anneal the copper with my lampworking torch, if I take care not to melt it ... but I am terribly short on usefull hammers, and I have no stakes either, and both are kind of vital.
ETA: Okay, so I tried to make a leaf, the simplest fold forming possible (I think), and ... I'm not going to show it. It is horrible :) I found out I really do need a hammer with the propper shape (mine is slightly rounded, but mostly flat and circular. And it's way too light for this), but hey! I found out I can anneal the copper right on the top of my kitchen stove!
Brilliant :)
And I can draw and think up what I want to do, until I can get some tools. Yay!
Monday, April 22, 2013
Monday, April 08, 2013
How to change the relay of your kiln: Uterm BA-2
My kiln has been having trouble keeping a steady temperature lately, so I emailed the nice people at Uterm and they sent me a replacement relay (Thank you, Uterm!)
I were wondering if I would be able to replace it myself, since I have no idea what goes on inside a kiln, but as you see, it was a piece of cake :)
Here is my kiln seen from below. You may be able to see 2 boxes attached to the bottom plate from the inside, and a bunch of wires.
4 screws keep the bottom plate in place from the outside. 2 in front and 2 in the back. A little tight, but easily removed. I pulled out the bottom plate with an old screwdriver, by pulling on the little 'legs'.
Here it is opened, revealing the wires inside. I were surprised there wasn't more parts in there.
The wires go in (and back out and up to the heating elements) ...
There is the relay, and a transformer behind it ...
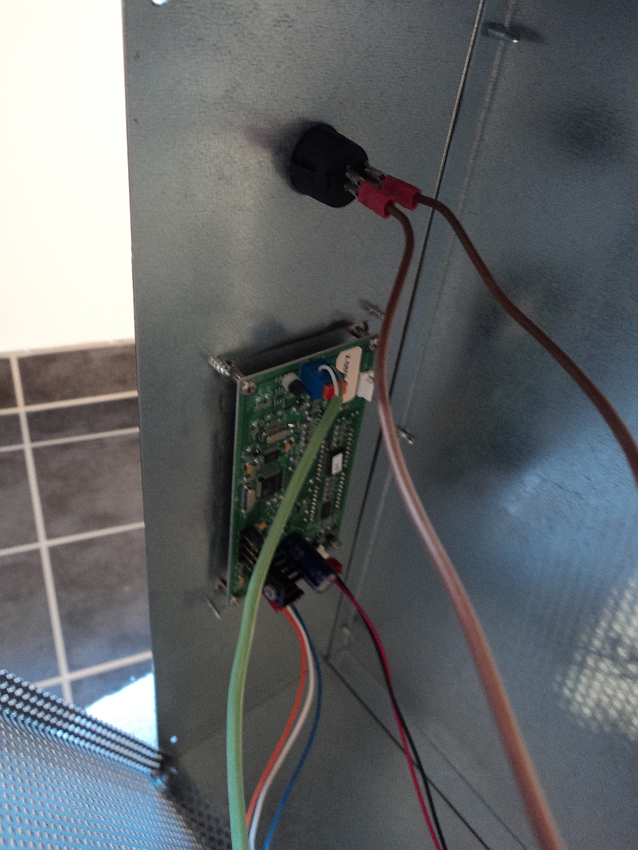
And over here on the other side is the brain, with the control buttons on the outside. And that is it ...
The relay has 6 wires attached, two of them double, and with this much space to work in they were easily removed and attached to the new relay in their propper places. Then I unscrewed the old relay and put the new one in it's place.
I closed up the bottom plate and put the 4 screws back in.
Voilá, all done.
Much easier than I had imagined :)
Subscribe to:
Posts (Atom)


