Showing posts with label how-to's. Show all posts

Monday, July 07, 2014

How to turn a large desk into a workshop table

Earlier this year I were lucky and got a desk for free through Freecycle Copenhagen. The table I had was very shaky, which is both annoying and not very usefull, and I thought this model would be much more stable with the large 'feet'.


The desk was quite enormous, so I thought I'd remodel it to better fit my needs, which was a stable jewellers bench. As you see it already has a curve, and it was even in the right side for where I wanted to place it.

So - first we cut off the excess depth


and the excess width.


The legs were secured to a metal frame under the plate. Since so much was cut off there were no room for all 3 legs and the large frame around them, so two would have to do.

The table included an extra pull-out plate, so we split the frame, cut away about 20cm, and inserted the smaller pull-out profiles to make it a whole again.


then assembled the frame ...


And put the plate on.
To keep things from rolling off the edges we cut the surplus plate and had enough for a barrier all the way round.


and Tadaa, there it is. Such a major improvement. All I need now is a bit of silicone to seal the cracks, and I'm ready to move in :)
Hurray, metal work , here I come!


Monday, April 08, 2013

How to change the relay of your kiln: Uterm BA-2

My kiln has been having trouble keeping a steady temperature lately, so I emailed the nice people at Uterm and they sent me a replacement relay (Thank you, Uterm!)

I were wondering if I would be able to replace it myself, since I have no idea what goes on inside a kiln, but as you see, it was a piece of cake :)

Here is my kiln seen from below. You may be able to see 2 boxes attached to the bottom plate from the inside, and a bunch of wires.

4 screws keep the bottom plate in place from the outside. 2 in front and 2 in the back. A little tight, but easily removed. I pulled out the bottom plate with an old screwdriver, by pulling on the little 'legs'.


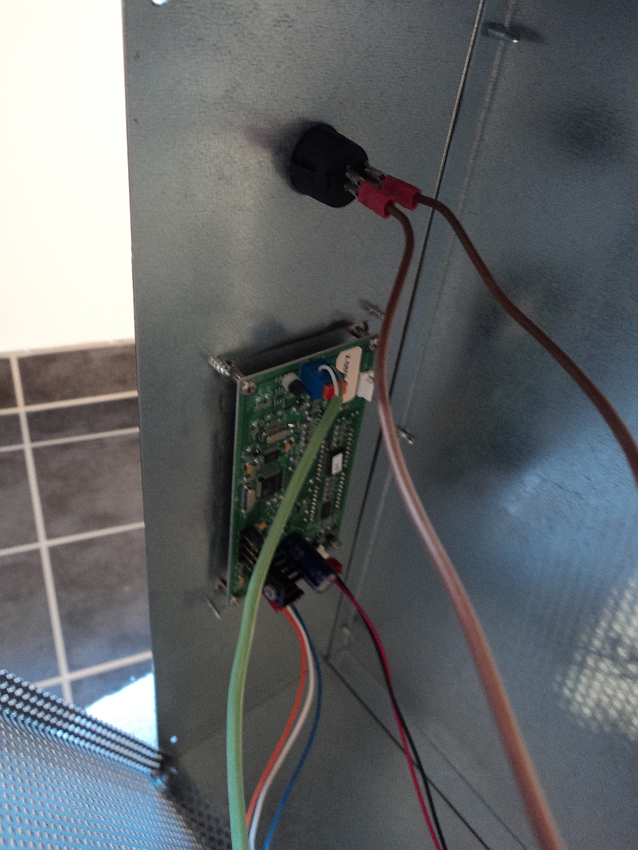
Here it is opened, revealing the wires inside. I were surprised there wasn't more parts in there.


The wires go in (and back out and up to the heating elements) ...


There is the relay, and a transformer behind it ...


And over here on the other side is the brain, with the control buttons on the outside. And that is it ...


The relay has 6 wires attached, two of them double, and with this much space to work in they were easily removed and attached to the new relay in their propper places. Then I unscrewed the old relay and put the new one in it's place.


I closed up the bottom plate and put the 4 screws back in.
Voilá, all done.
Much easier than I had imagined :)
Related Posts Plugin for WordPress, Blogger...